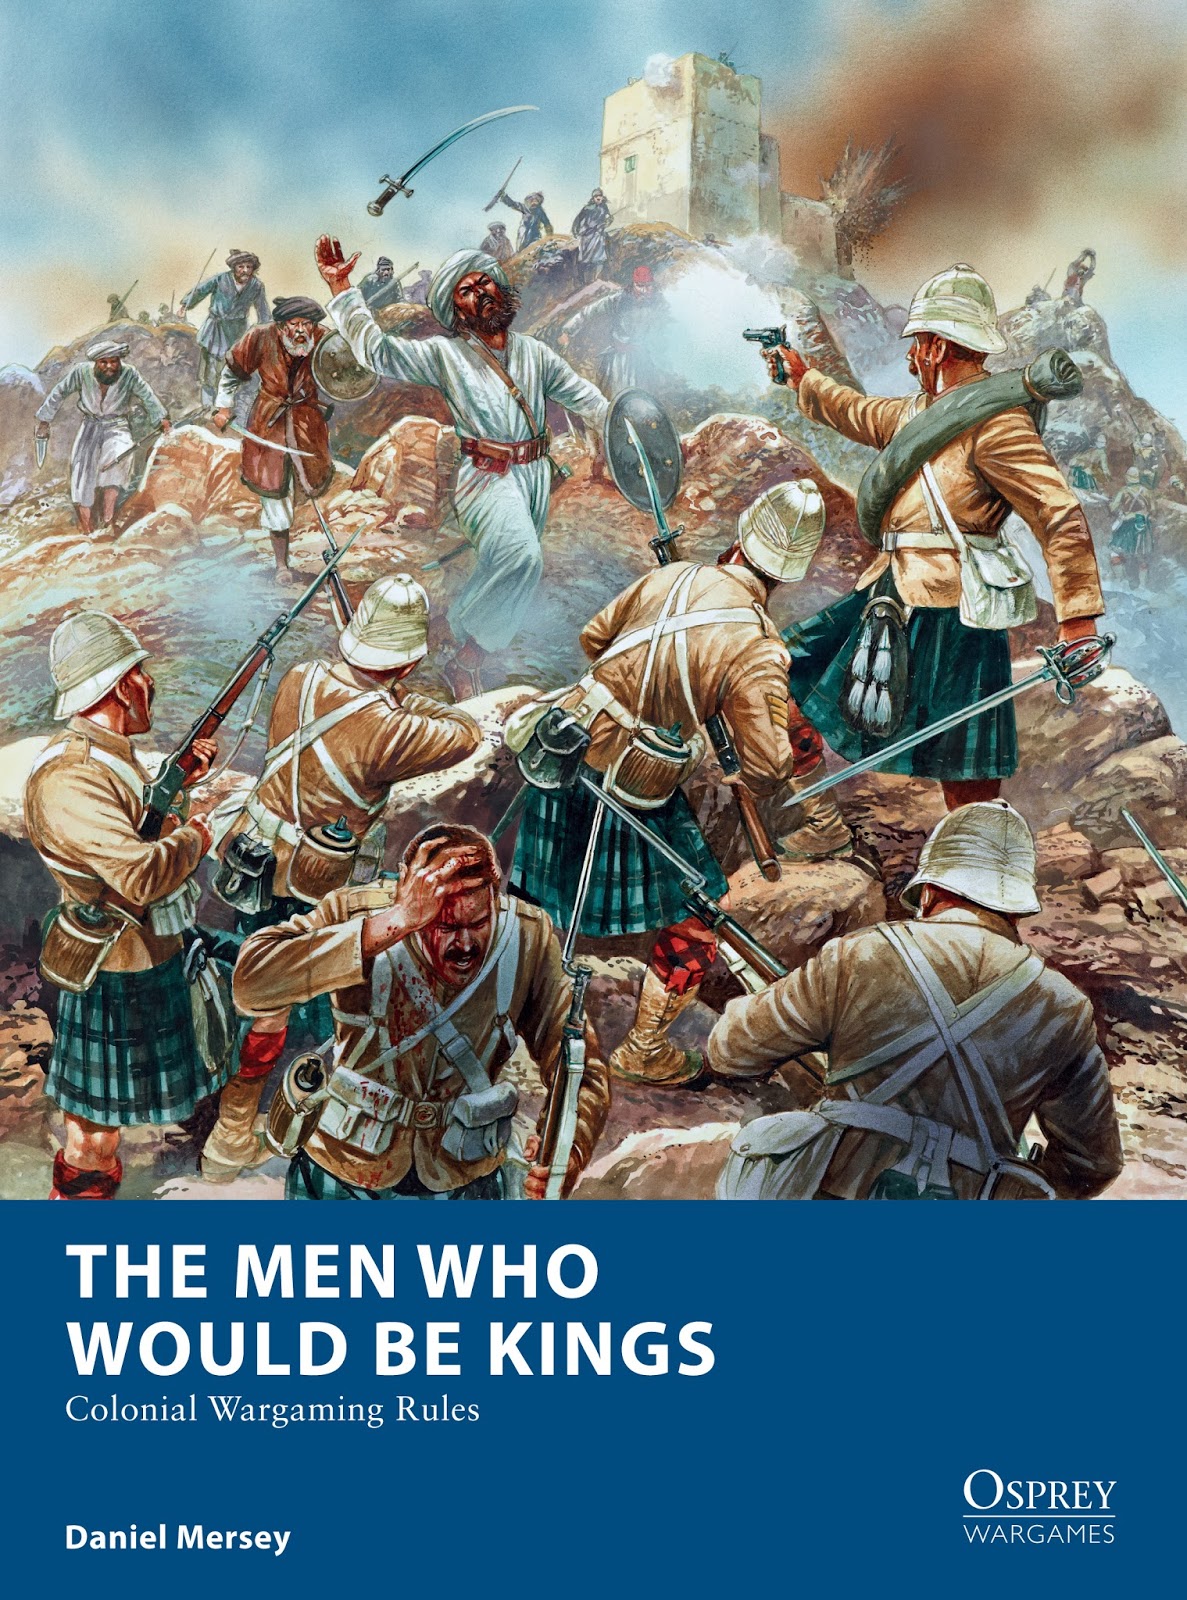
Wednesday, June 23, 2010

AAR Bunker Hill 17 June 1775

Last sunday I and my friends played my Bunker Hill scenario for Black Powder. We were 7 participants all in all and it worked out as a realy good game. Here are some pictures from the game.

OOB

- The British -

Commander-in-Chief
• Major General William Howe

Brigadier General Pigott
• Converged British Light Battalion – 8 figures (small unit)
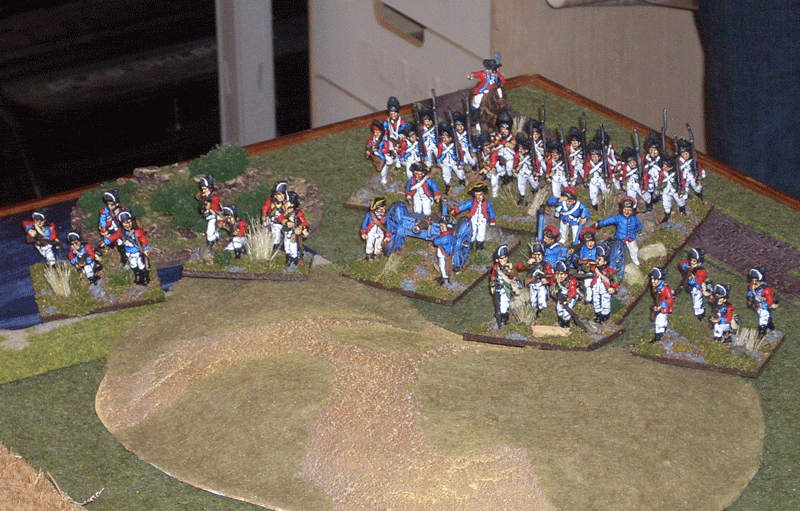
• Converged British Grenadier Battalion – 18 figures (standard unit)
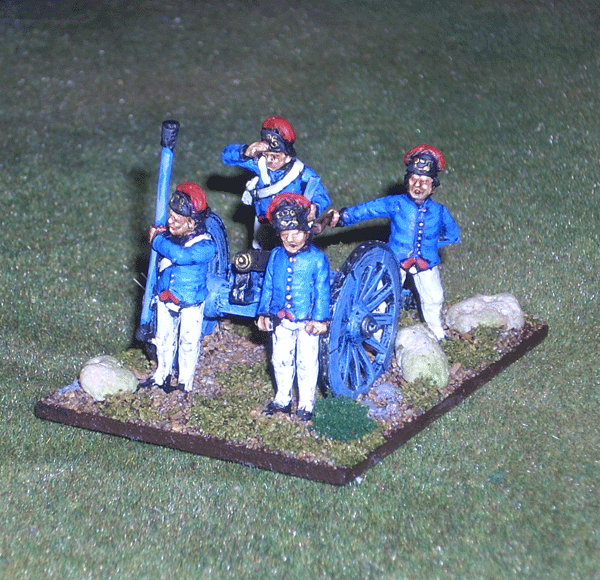
• Artillery – 2 guns, 6pdrs (no limbers)

• 5th Foot - 18 figures (standard unit)
• 38th Foot - 18 figures (standard unit)
• 43rd Foot - 18 figures (standard unit)

• 47th Foot - 18 figures (standard unit)
• 52th Foot - 18 figures (standard unit)
• 1st Marines - 18 figures (standard unit)


- The Americans -

Commander-in-Chief
• No overall commander was present during the battle.

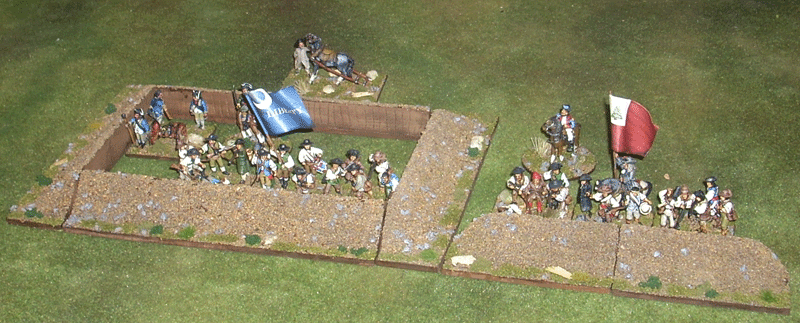
Breed´s Hill - Colonel Prescott
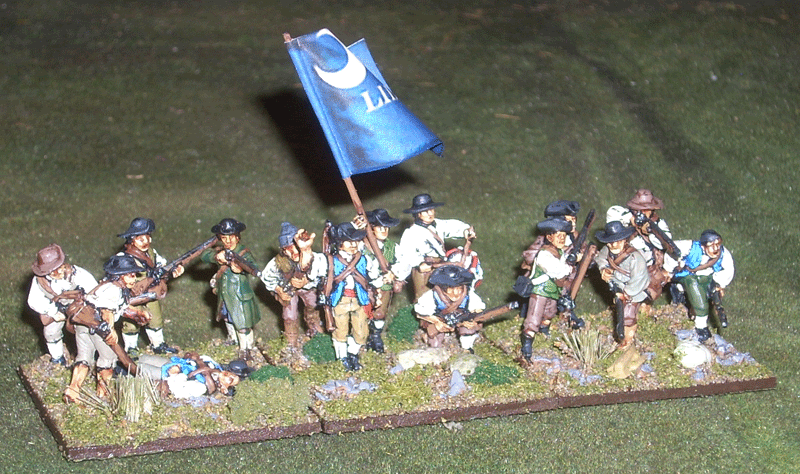
• Massachusetts Militia, deployed in the Redoubt - 18 figures (standard unit)
• Massachusetts Militia, deployed in the Breastwork - 18 figures (standard unit)
• Riflemen, deployed in Charlestown - 6 figures (small unit)
• Riflemen, deployed in the Stone Barn - 6 figures (small unit)

Reinforcements – Colonel Stark
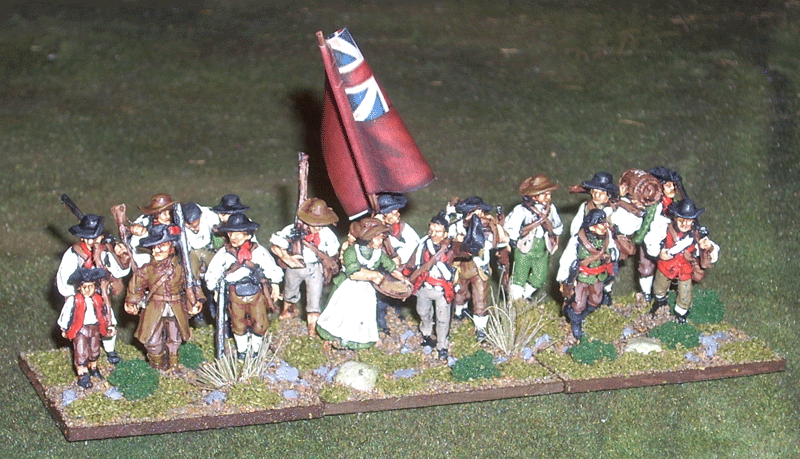
• New Hampshire Militia - 18 figures (standard unit)
• Connecticut Militia - 18 figures (standard unit)
• Artillery – 1 gun, 3pdr with limber

The American orders was to hold the redupt and give the redcoats a real fight. The British orders was to disperse the rebells and capture the redupt.

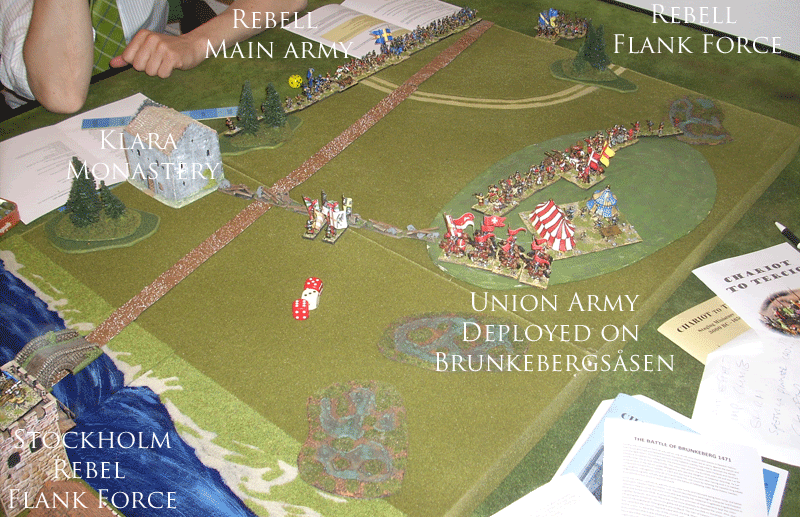
Due to a shortage of propper sea transports the British force would arrive to Multons Point in 3 separate landing waves...

The British plan was simple: wait until all troops have landed and them make a frontal assault on the redaupt with the Light Infantry as a screan in front of the advancinge troops. Artillery supprot from the hill at Multons point. What could go wrong...
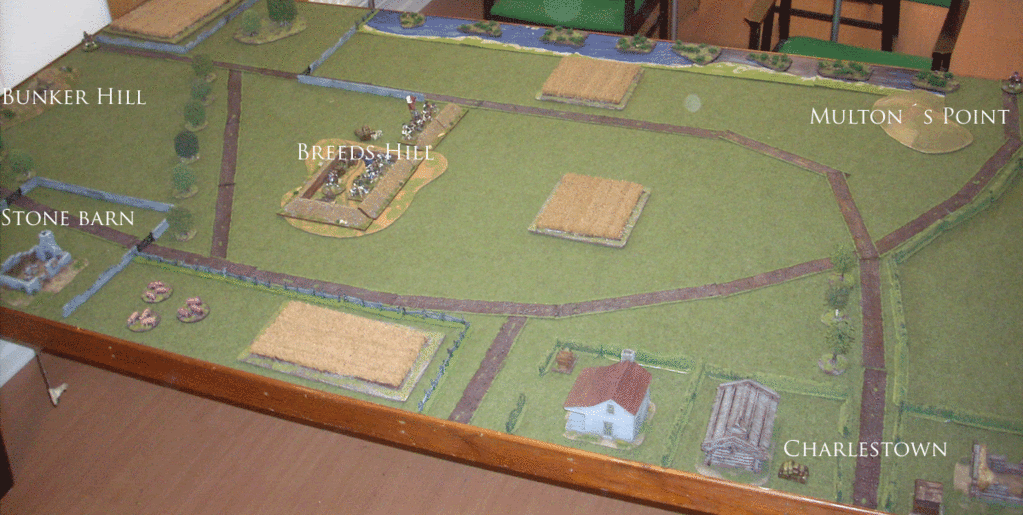
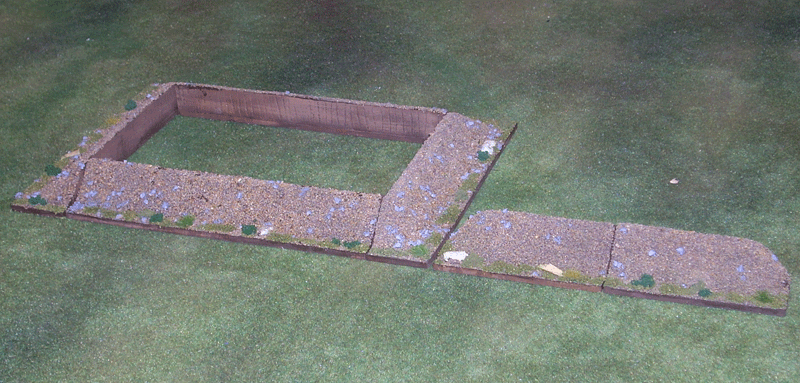
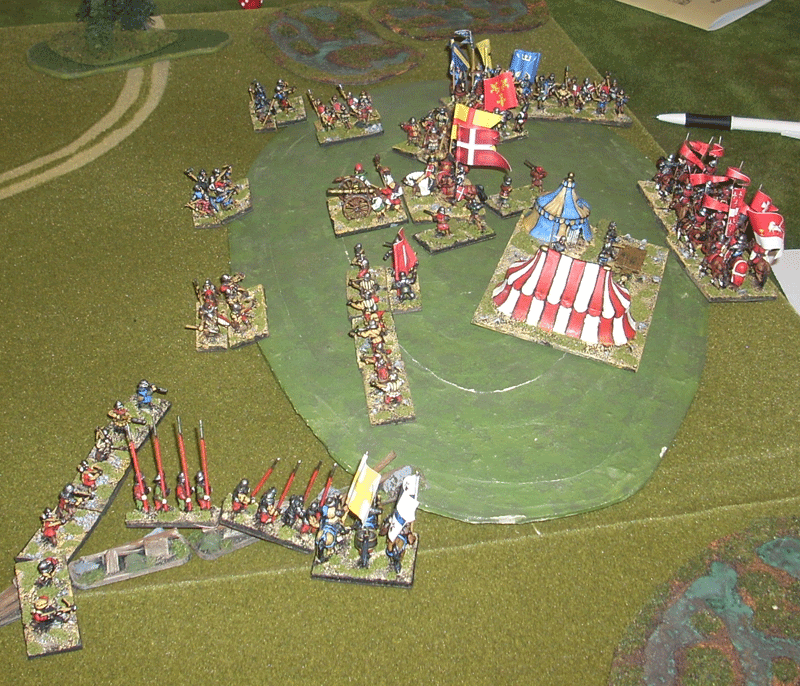
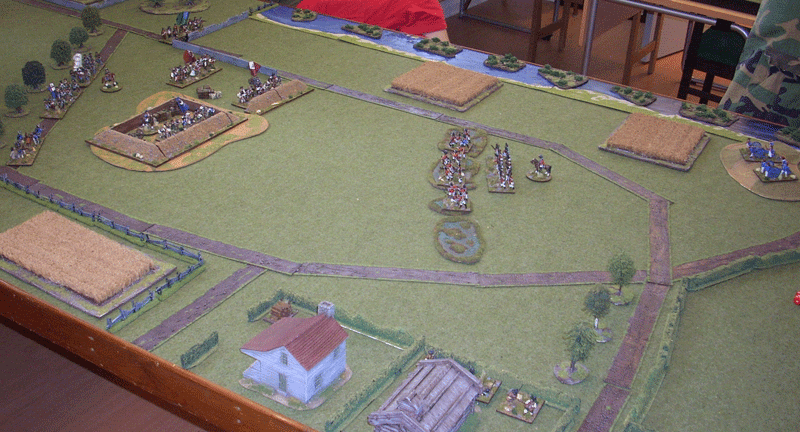

The star set-up.


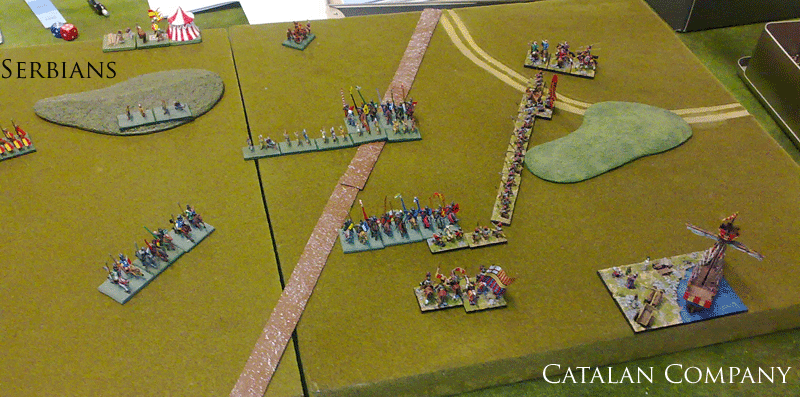
The 1st wave of British troops.


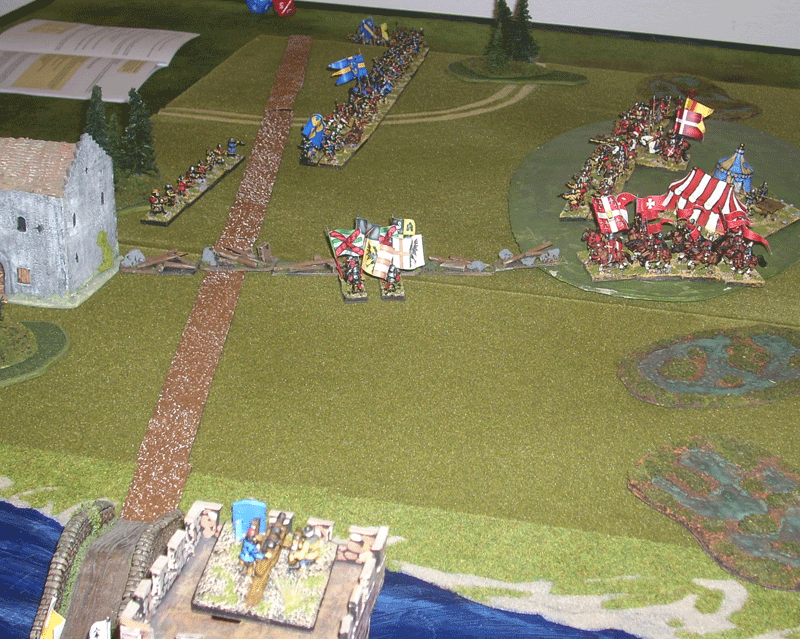
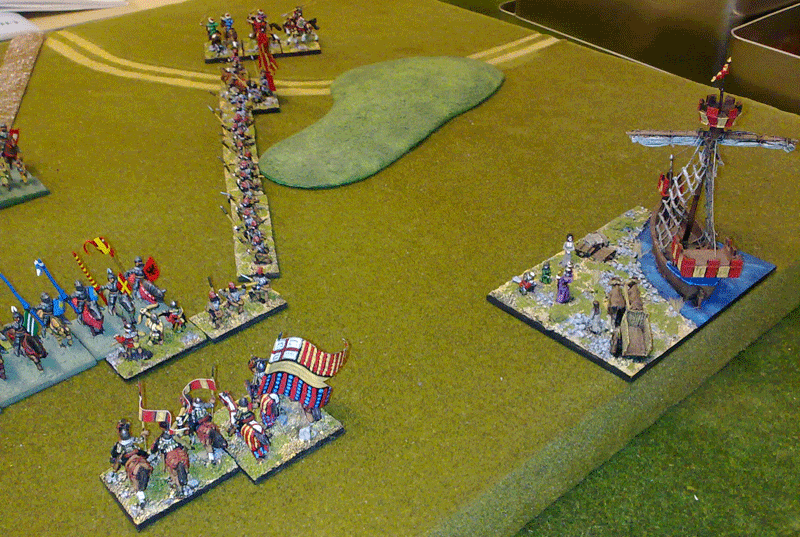
Colonel Stark and the Militia reinforcements.


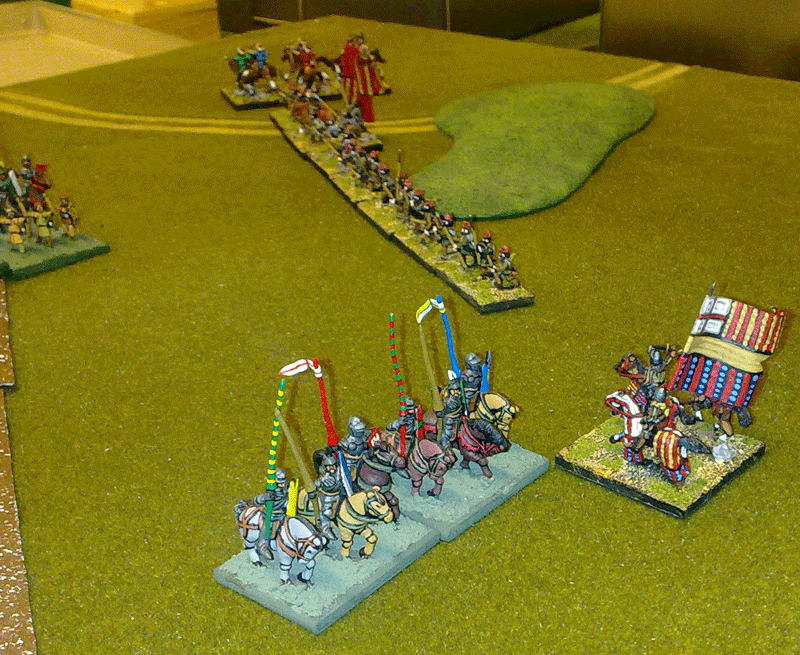
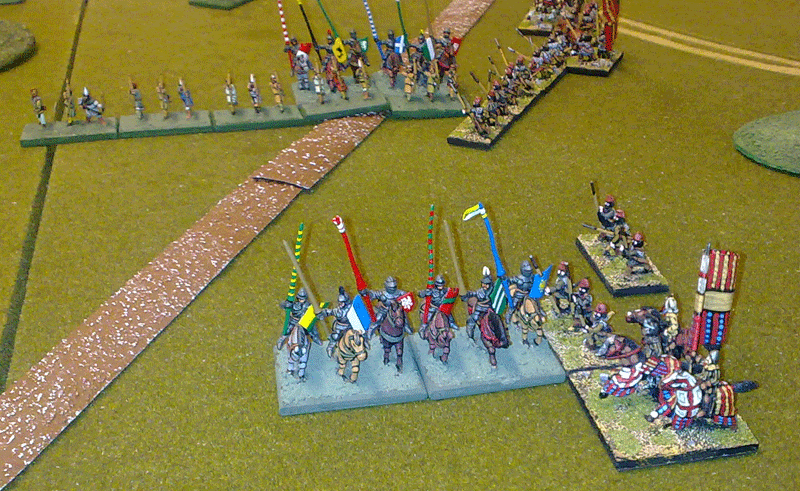
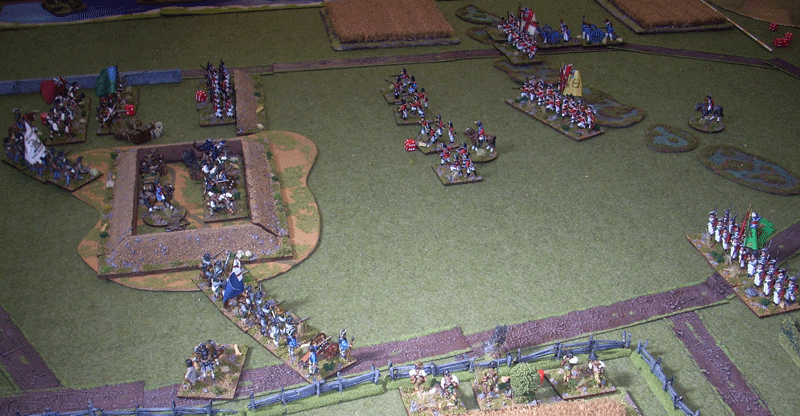
Colonel Starks reinforcements starting to deploy in support. The eager British flank companies don´t wait until all troops had arrived before they started there assault...but they got stuck in a conceald swamp in front of the rebel redupt....the shooting starts...


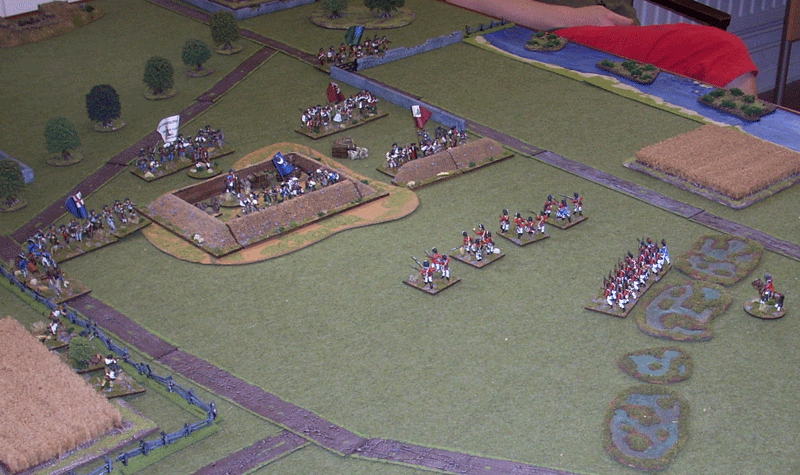
The British Grenadiers manage to get through the swamp in cover of the light infantry...they also start to recive sniper fire from Charlestown...the British respond by starting to bombard Charlestown from the navys ships...


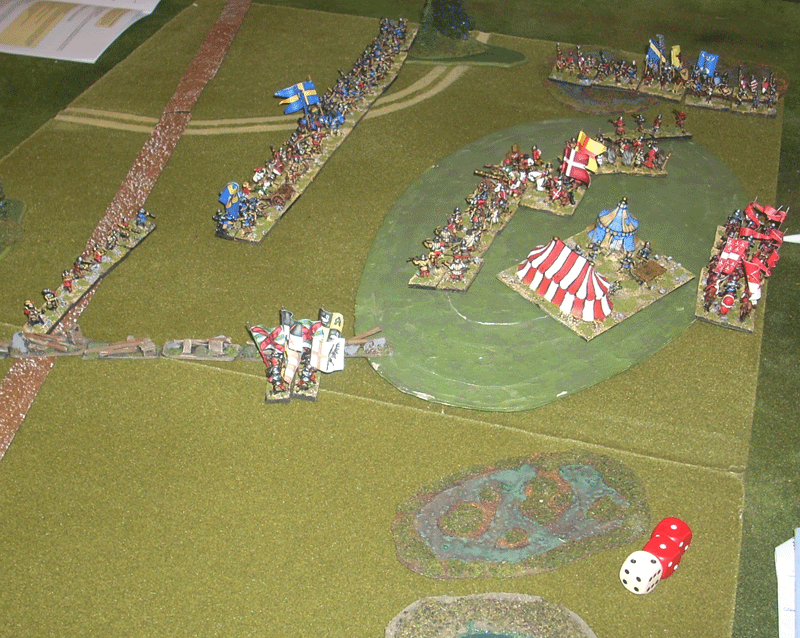
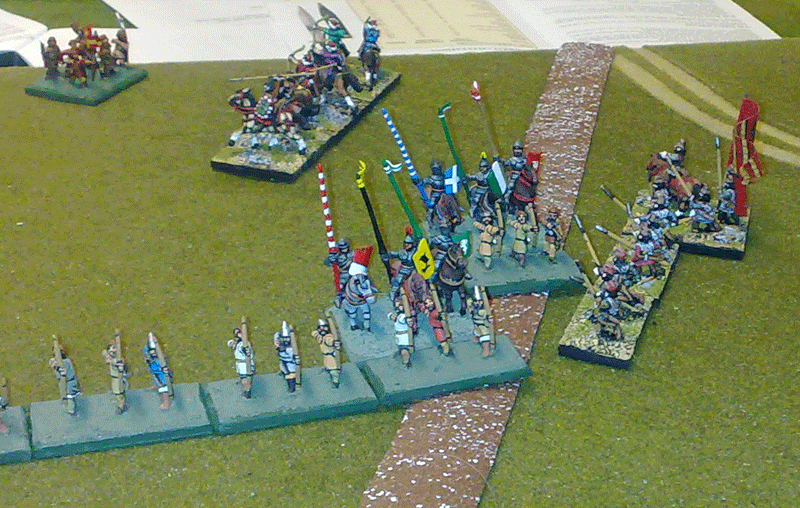
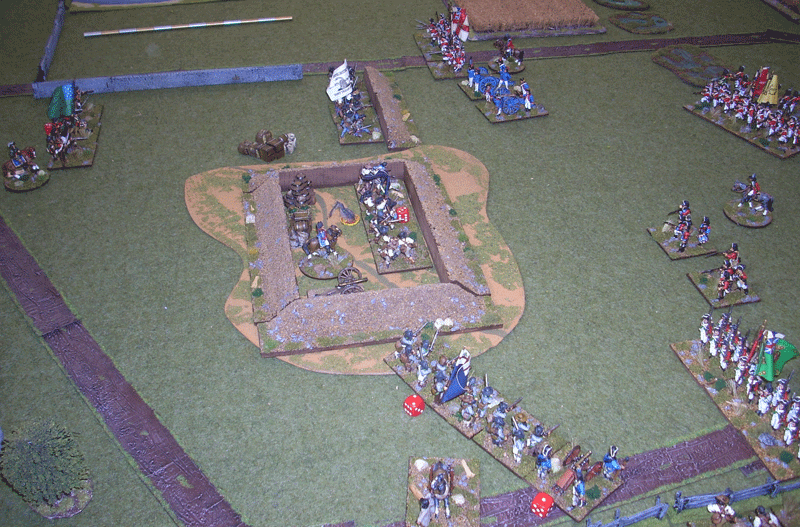
Colonel Starks troops are in possition and the start to shoot at the advancing Rredcoats. The British 2nd wave have arrived but they also get stuk in the swamp... The British Grenadiers have had enough and charges and occupy the rebel fieldworks in a bloody cloase combat...

The naval bombardment have set Charlestown on fire and one unit of patriot rifle men are lost in the flames...


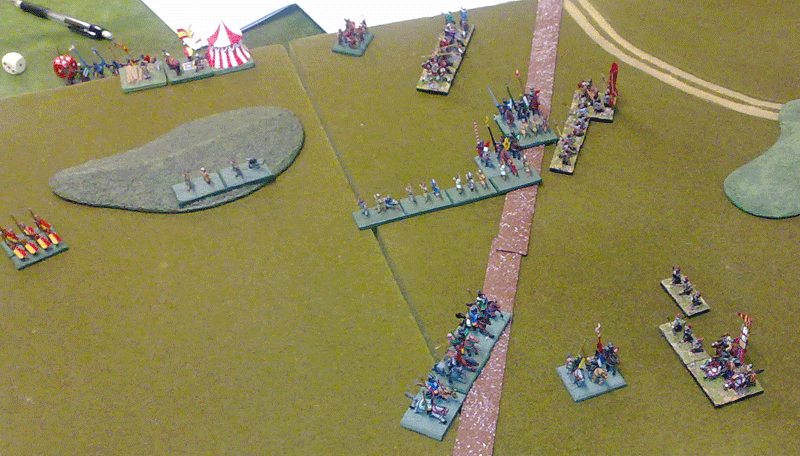
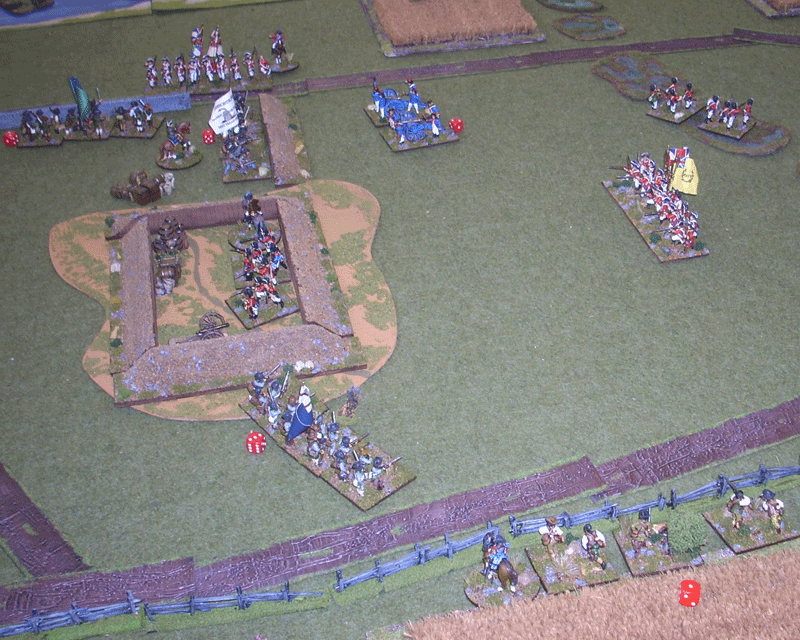
Inspired by the Grenadiers easy win a British line regiment charges the redupt...a long fight will start...at the same time the victorious Grenadiers are pinned down by militia musket fire...

The British artillery discover that they have brought the wrong ammo. and they can now only shoot at short range...


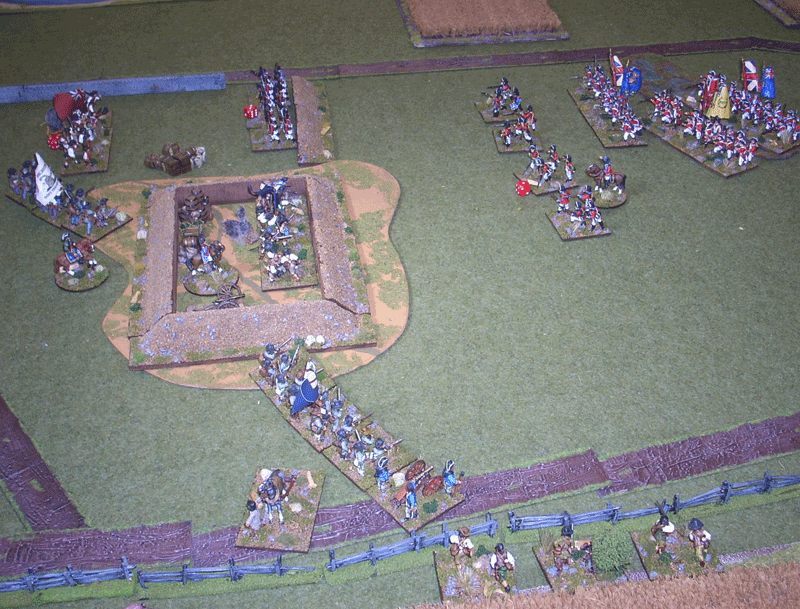
After 3 rounds of hard fighting at the redopt, 2 British Line Regiments brake and flee...


The Grenadiers are shoot to pieces by the Militia that recapture the field works...The British bring up the artillery to close range and start to shoot...


The British manage to make one last assault on the redoupt...


The assulting British Line Regiment are puched back but manage to breake the Rebells in the redupt and the British Light infantry catch the moment and occupy the redopt...

A pyrrhus victory for the British as they historical had some more Line Regiment as reinforcements...

Monday, June 21, 2010

Redupt for Bunker Hill

I have built a Redoupt for the Bunker Hill scenario. We played it yeasterday and I hopt to give you a AAR during the week.


Friday, June 18, 2010

Some more American troops

On Sunday we will play my Bunker Hill scenario, here are pictures of the last minis needed, now I only have to finish the Redoupt...


Colonel Stark


3pdr with limber

More British Artillery

Today some reinforcements fore the British, a 6pdr...without limber...it´s under construction but as the British dont use any limber in the Bunker Hill scenario so it had to wait...

Monday, June 14, 2010

Rohde Island Milita Unit

This is the sixth of my American Milita units I need for the Bunker Hill scenario. I have alsoe started to build a redoupt and some fieldworks for the militia to take cover behind...

Saturday, June 12, 2010

American Militia

I have continued my work to get some more American militia units for my Bunker Hill scenario.


Left to finish:
1 American militia unit, 18 minis (almost finished)
1 American mounted Officer
1 British 6pdr with 4 crew

Thursday, June 10, 2010

AAR Battle of Brunkeberg 10th October 1471

This is a short AAR from our test game of my Battle of Brunkeberg scenario. We used Matts CCT rules. Matts was leading the Union forces under command of King Christian I and Martin was leading the Rebel force under command of Sten Sture.


Order of battle


Swedish Rebel Forces

Main Force under command of Sten Sture den äldre

1xKnight, (CIC: Sten Sture den äldre)

8xAllmogeuppbåd,

3xSkärmytslare,

1xHandgunners,

1xLätta stycken,

Flank marching force under command of Nils Sture

1xKnight, (SC: Nils Sture)

4xDalkarlar,

Ambush force from Stockholm under command of Knut Posse

1xKnight, (SC: Knut Posse)

2xCity Militia,

1xTunga stycken, (Stationary guns at Stockholm Castle)

23 units in total


Union Forces

Main Force under command of King Christian I and Klas Rönnow

1xDanish Knight, (CIC: King Christian)

1xDanish Knight, (SC: Klas Rönnow)

3xGerman and Swedish Knight,

2xDanish Obudshaer,

2xGerman Knektar,

2xDanish Bowmen,

2xSwedish Allmogeuppbåd,

2xGerman Handgunners,

1xLätta stycken,

2xTunga stycken,

Field fortifications

18 units in total


The setup, The Union Forces have deployed on the Brunkebergsåsen, both Flanks covered by marsches, they alsoe built a baricade from the foot of the hill to Klara Moastry, guarded by some German mercenarys...

The Rebell force have lined up with Sten Sturen in the middle surounded by all hi´s allmoge militia and the light artillery and skirmishers to the right. The rebells alsoe hav one small force that can make a attack from the City of Stockholm and on force with the crack allmoge militia from Dalarna:)

Attrition points accumulated: Union:0, Rebells:0 (you lose the game then you reach 16...)


The Rebel main line advance against Brunkebergsåsen and the Union forces. The heavy artillry in Stockholm opens fire but dont make much damage...

Attrition points accumulated: Union:0, Rebells:0


The Rebell main force continue to steady advance... and the Flank March with the Dalarna levy arrives early... The union respons are to send their best Noble Knights to deal with the threat emergeing from the marches...

Attrition points Accumulated: Union:0, Rebells:0


The Rebells have reaced shooting range and a fearsome firefight breakes out... The Union Knights seems to have stoped at the Camp for a drink....

Attrition points accumulated: Union:0, Rebells:0


Sten Sture leads his rebell force in a headon charge against the Union defencive possitions... The Union artilley and crossbowmen meet the charges with heavy fire...Sten Sture gets killd by a shoot from the Heavy Artillery and several Allmoge units alsoe get eliminated...

Attrition points accumulated: Union:4, Rebells:12


The Union forces are hard pressed...but manage to repulse the Rebell attack, eliminating the rebel light artillery and some mor allmoge unita only losing 2 units of german Mercenarys to the citizens from Stockholm in theprocess. The union knights are still att the camp resting....

Attrition points accumulated: Union: 8, Rebells: 16

Was a realy nice game, the rules worked fine. I will change some small things in the OOB and then we will try it out again...

Tuesday, June 8, 2010

4th Regiment of Foot

I have started to paint the last regiments that I need for my Bunker Hill scenario that we are going to play on the 20th.

Here are a picture of my latest, the 4th regiment of Foot, "King´s own"

Short regimental History:


The Light Infantry Company of the 4th, along with that of the 10th,was involved in the fight on Lexington green on April 19, 1775.


It was the 4th Foot's Light Infantry Company that had the first British casualties of the war, leaving two of their company dead atthe North Bridge in Concord MA. Another private, mortallywounded, died and was buried in the center of Concord


Two months later, the King's Own was deployed again. This time, they were among the forces that charged Bunker Hill (Breed's Hill). Again, they took significant casualties before the field was won.


The King’s Own served in North America until the close of 1778 when the Regiment was sent to the West Indies.

Friday, June 4, 2010

AAR Catalan Company vs. Serbian Empire

A couple of nights ago I had the opportunity to try out my friend Matts own wargaming rules CTT - Chariot to Tercio. The rules are still under development and are a mix of own ideas the best parts from several other games, it have turned out to work realy well.

In this game I played a Catalan Company army and Matts commanded a Serbian Empire army. The gaming area are 90x60cm. If your army lose units worth 16 attrition points they have lost the battle, most units are worth 2 points, but Knights and Almughavars cost 3 points to lose and a C-in-C cost 6 points !!!

OOB
Catalan Company
1xCavall Armats, Knights and C-in-C
1xCavall Alforrats, Cavalry
2xCatalan Crossbowmen
3xOttoman and Albaninan Light Horse
8xAlmughavars, Spear Fast including a sub-commander
15 units in total

Serbian Empire
6xSerbian Knights, including the C-in-C and a sub-commander
2xRegular Spears
2xLight Infantry
5xBowmen
1xPeasant levy
2xAlbanian Light Horse
18 units in total


The first picture are after the opening moves. The Serbian C-in-C was eager to get in to the fight, so he made a fast advance, running through he´s own Bowmen and charged in to the Catalna Crossbowmen... At the same time the whole Catalan center and right wing started a long wheel to try to attack the Serbians from the flank.


The Catalan Crossbowmen was not realy prepered to be charged by Knights, they just gor to fires some stray bolts and then they was overrun...
Attrition points accumulated:Serbians:0, Catalans:4


The Catalan C-in-C lead his Cavall Armats in a counter charge with 2 Almughavars units...it turned out to be the Serbians C-in-C they had charged and he put up a fearsome fight...

The serbian commander managed to eliminate the 2 Amughavar units before he was slain by the Catalan C-in-C...
Attrition points accumulated: Serbians: 6, Catalans: 10


The Catalan c-in-c called for some reinforcements and continued his attack on the Serbian Knights... At the same time the Alumughvars charged the Serbian Bowmen and their Knight support...


The catalan Light Horse line up and start to shoot at the Peasant Levy that the Serbian commander left to guard the camp...

The Charging Almughavars loses a unit to bow fire...but managed to puch the Bowmen and Knights back, ofcourse they followed and pressed on their attack...
Attrition points accumulated: Serbians: 9, Catalans: 10


The Catalan Commander managed to eliminate one more Serbian Knight by a cunning flank attack and start to smell victory....but a moment later a Almughavar unit was eliminated by a Serbian Knight unit it had attacked in the flank...
Attrition points accumulated: Serbians 9, Catalans: 16

I lost:( but it was still a realy nice game, the rules worked out verry good and I looking forward to play again:)